So here it is - another tutorial for you all *swings open arms in a semi-circle* -
gratis!
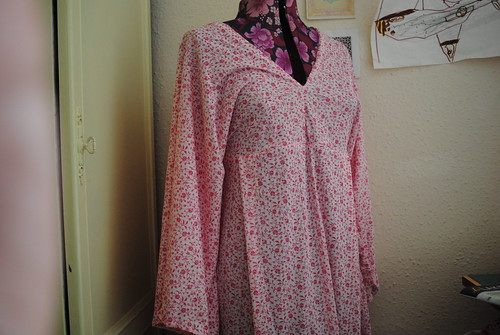
It is technically Summer, yes? And what do us mamas do in Summer? Why, we sit around at the beach or lakeside eating bonbons and sipping martinis of course. Duh. Except the martini bit. Obviously. And the sitting part, of course. But apart from that - well we like our summer wear don't we? Yes we do.
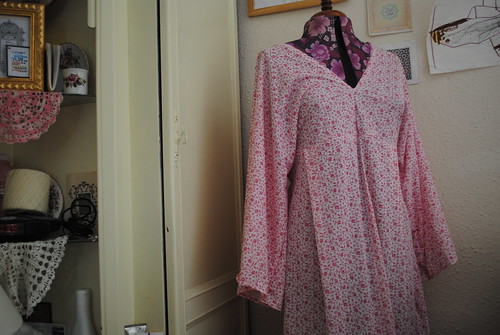
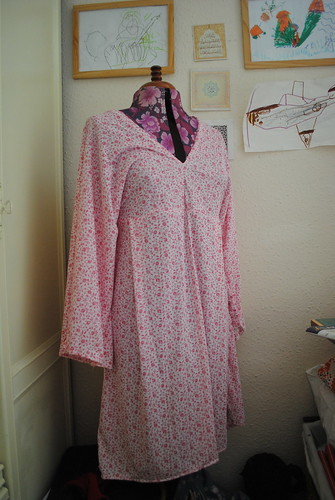
Here, then is a simple tunic designed by me for those days when I want be all airy and floaty. It's an easy make and so I thought it would be ideal for a tutorial so all y'all can float around too. And eat bonbons.
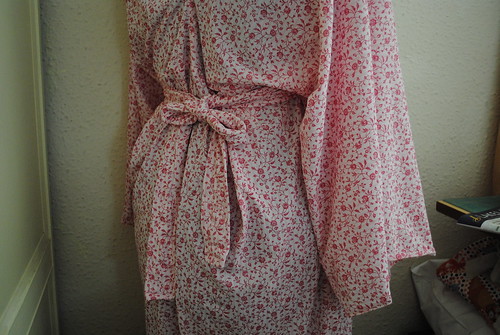
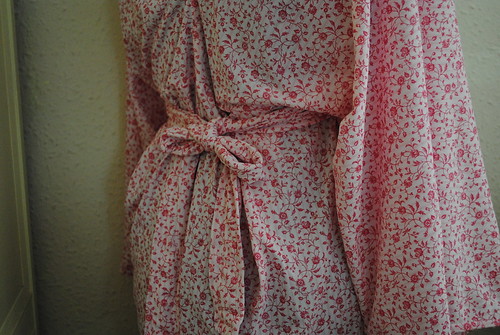
The pattern I'm giving is free for personal use NOT FOR SALE and please link back to me if you share, OK? OK? Sharing is caring, right? OK. So play nice.
The pattern here will give you a tunic just above your knees or thereabouts. If you want to radically shorten this tunic to a hip length blouse or what-have-you, then that is totally easy to achieve too. You might not float though; you may waft a little, but I envisage not major floating.
OK. Let's get started.
YOU WILL NEED ::
A sewing machine, yes I know, I am forced to state the freaking obvious,
Thread to match the fabric,
Dressmaking scissors,
Pins,
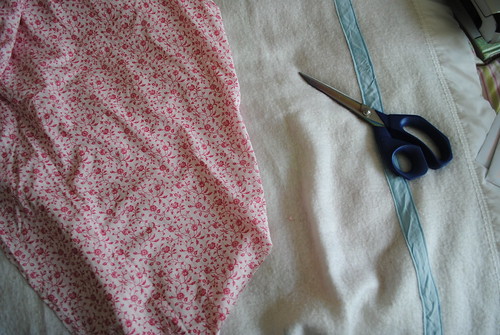
Enough fabric to get four 30 inch x 30 inch square pieces, and two 30 inche x 10 inch rectangles.
 DO IT ALREADY ::
This is so easy I'm almost embarrassed to call it a tutorial...
1. Make life easy for yourself by hemming all four squares.
2. Once hemmed take two of the squares and place right sides together. Along one edge sew 5 inches, leave a gap and then sew the final 5 inches. This will give you a hole - put your head in - waggle it about. Feel good? Yeah, you look good. The cloth is actually your sleeves.
3. Sew all around the neck-hole to flatten any curling hem.
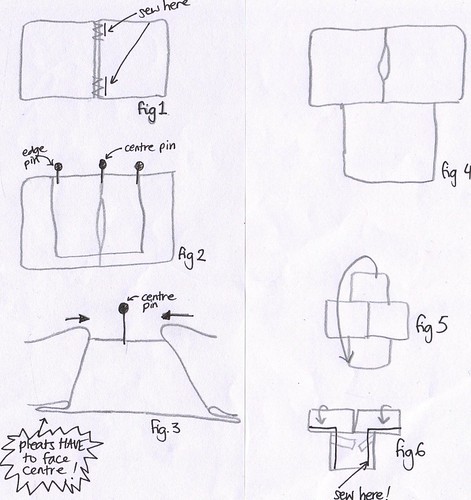
4. Now for the bit where you need to concentrate :: Lay down the piece you have just sewn {"A"} so you are looking at the right side. Take another square {"B"} and place the centre of one edge of the square {"B"} and pin, right sides facing, to the centre of the first piece {"A"}. From this pinned centre, measure ten inches to the right, and take the corner edge of {"B"} and pin into place. Do the same for the left side.
5. There will be floppy fabric in the middle of these pins. Finding the centre between the centre pin and the end pin, carefully FOLD the fabric into a pleat ensuring the fold points towards the centre. Pin into place. Do the same for the other side.
6. Sew square {"B"} onto piece {"A"} ensuring the pleat is sewn.
7. You should have something like this (see fig. 4)
8. Repeat the process for the opposite side of piece {"A"} until you have something similar to (fig. 5)
9. Make the straps :: Take one of the 30 x 10 inch rectangles and fold until right sides are facing and sew across one width and the entire length of the piece. Turn inside out so it is the right way round. Fold over one more time down it's length and sew into place. Repeat for the other strap.
10. Returning to the tunic it is time to sew it all together. Using (fig.5) and (fig.6) as a guide, fold the tunic over so that the right sides are facing, slip a strap in between the two right facing sides (inside) and pin into place where the sleeve meets the body, and do the same for the other strap under the other sleeve. Once pinned into place, sew along the open sleeve edge, and then along the open body, and repeat for the for other side.
11. Chop off any remaing threads, turn the right way round and wear!
There! What do you think? You made that! I know! I'm psyched too!! In fact, please DO share - don't forget the
Flickr group to show off all the tutorial makes, or just to chit chat and say 'hi'.
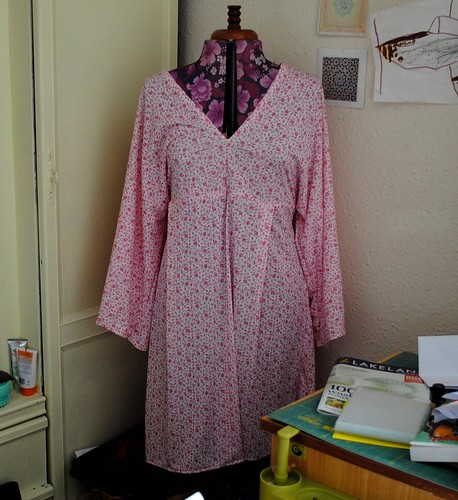
If you would like a shorter version you'll have to play about with the lengths in the {"B"} pieces, but the great thing about longer tunics? Well, they look great over jeans, and at the beach over swimwear. You know, as you're eating your bonbons...
ENJOY!
*** *** ***