Showing posts with label pattern. Show all posts

Thursday, 1 August 2013

Here and Now

upload

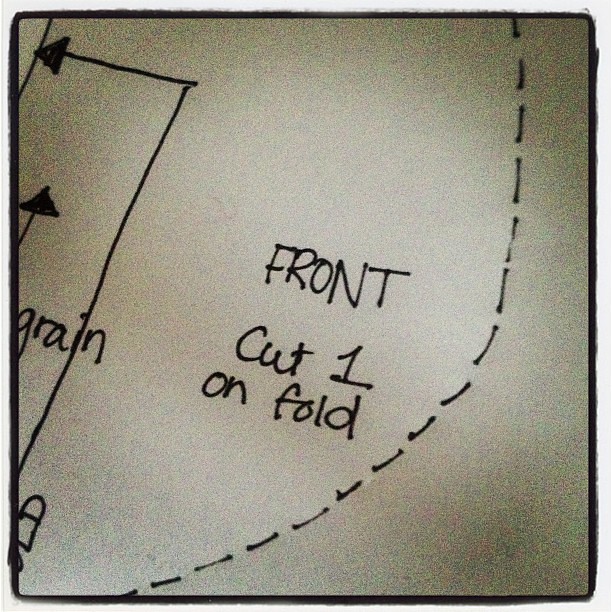
Drawing up a pattern #secretproject shhh

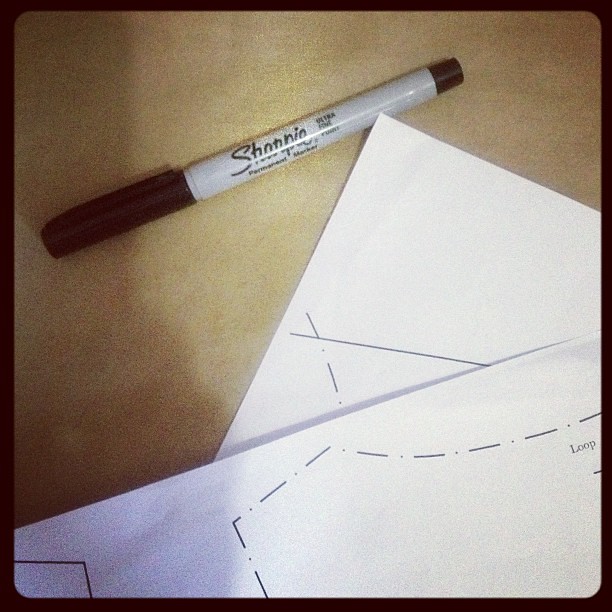
The pattern is cut and the deed must be done #secretproject

We're into the last ten days of Ramadan now. It's a special time, almost like the previous twenty days have been working up to this. Some people are now going into a retreat, with no contact with anyone or anything, just extra worship for these last days. We're getting sucked into the boys' Eid countdown excitement instead. And they are very excited for they do so love a good Eid these boys of mine masha'allah.

In the meantime we concentrate on the here and now. Work still needs doing. The house needs cleaning, the chores need finishing and this, some pattern writing, going on when time allows.

Each day is made up of steps taken in the here and now.

Thursday, 14 February 2013

Sneak Peeks

Now the real work begins...

DSC_0044

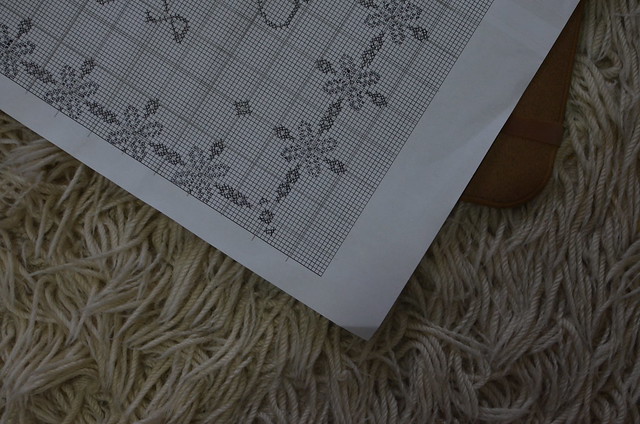
My latest pattern - something I've been working on for a little while - something new in a new craft :: cross stitch! Once it's got all the finishing touches I'll reveal all insha'allah.


Wednesday, 23 January 2013

Shawl

DSC_0003

DSC_0002

DSC_0102

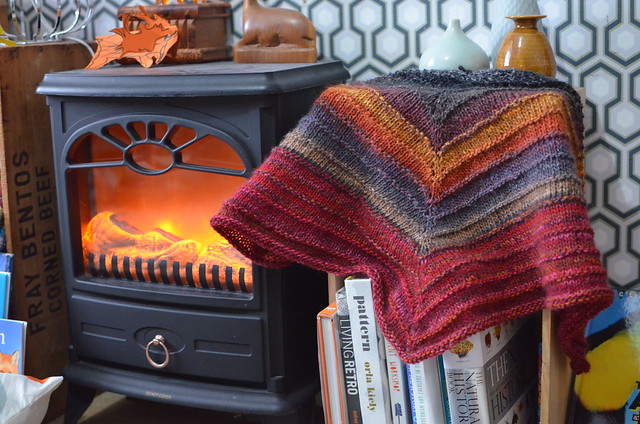
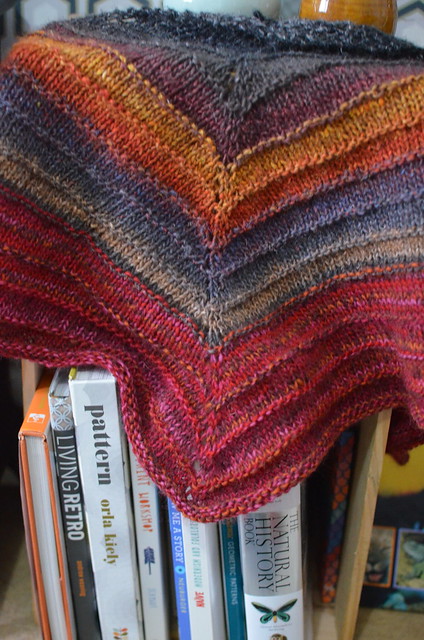
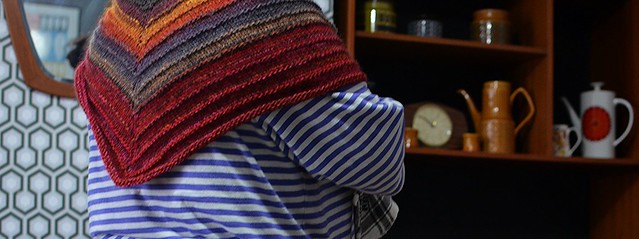
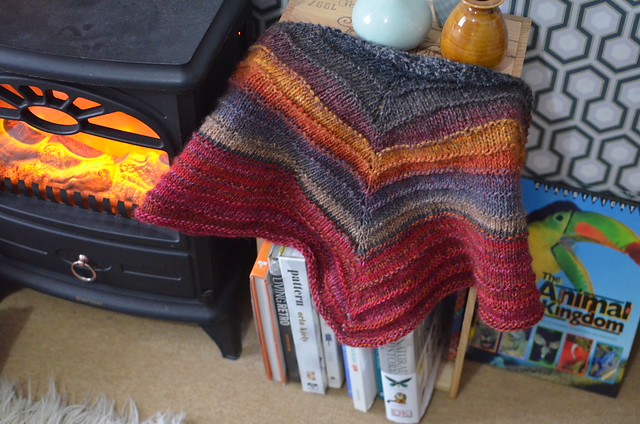
It's been cold here, and I've found myself reaching for my shawl more and more. It seems like a superfluous piece of clothing until it snows, and then the chill creeps in and then it seems to be the only thing that helps.

After gifting a couple away earlier this year I was left with a distinct lack of shawls, in fact, only one was left, which gave me the perfect excuse to buy more yarn. Right? (Does a yarn addict need much of an excuse to buy yarn? Or more needles? I think not).

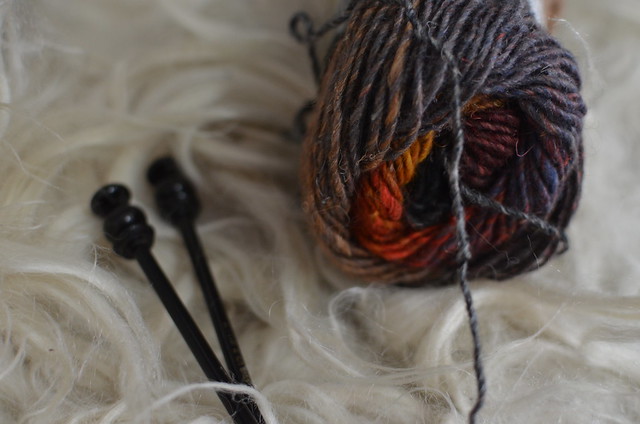
I wanted something thoroughly warming and Noro Silk Garden was a natural choice with its silk, kid mohair and lambswool content. It's so thoroughly beautiful but totally necessary (IMO, see above) too.

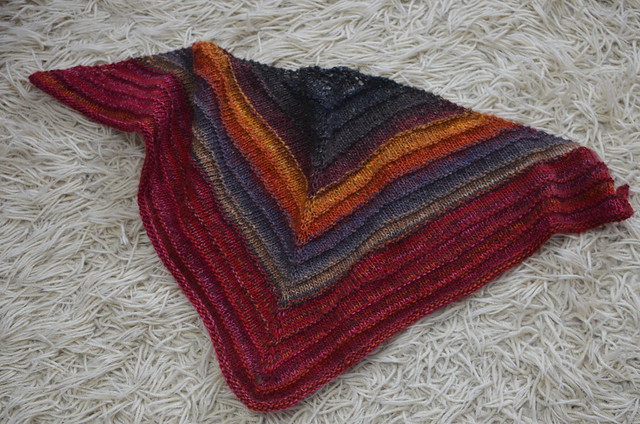
This skein was colour 349 as I was attracted to the grey/mustard combo. I modified my "Impsy Pimpsy Shawl" pattern - leaving the lacework off the bottom and M1L and M1R isntead of YO, and every so often making a garter ridge to break the monotony up somewhat.

After finishing the skein the shawl was a teeny bit too small for my liking, and after raiding the yarn stash I found just what I was looking for - this Freedom Spirit yarn gifted to me a while back. 100% wool and it really brought the Noro alive by carrying the warming colours through the grey. Perfect.

And so, a new shawl, ready to be put to good use this week as we make way for a 'real winter' (as my babes call it) full of snow.

DSC_0005

DSC_0006

DSC_0001

Thursday, 24 May 2012

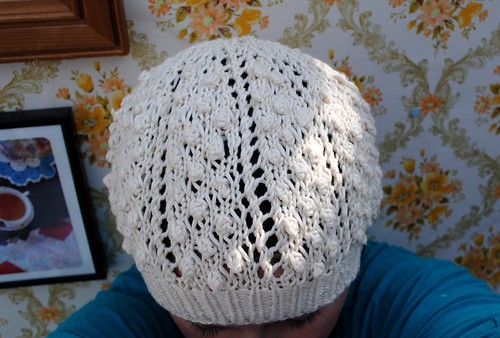
The Real Sea Urchin Beret Pattern

DSC_0045

This knitting pattern has bitter-sweet memories for me. I worked up this pattern last year as I spent some time at my parents' house as Dad was dying with cancer. Was that last year? It seems so much longer ago.

I remember sitting in one armchair looking at Dad in the other; my aunty winding him up about how much pension he was entitled to, and him asking me 'if it's not too much bother when you've finished that' to get him all his papers and documents. Of course I got him his papers straight away; didn't he know I would've brought him the world if I could have? I kept knitting this pattern up as he tried to work out how much money the taxman was taking him for, not quite sure if it was the only thing keeping me sane, and wondering if it would work out as I imagined it in my mind's eye, or even fit.

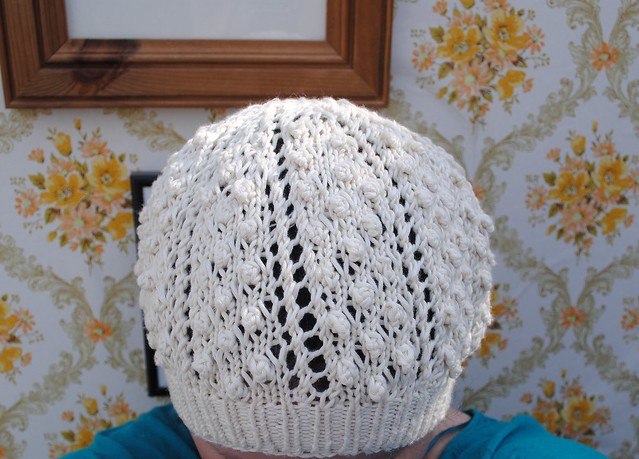
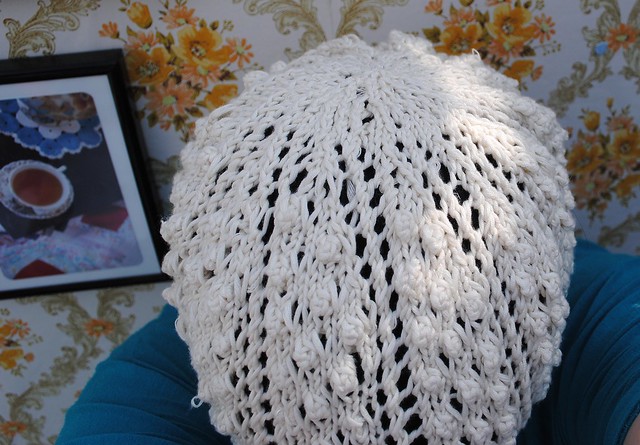
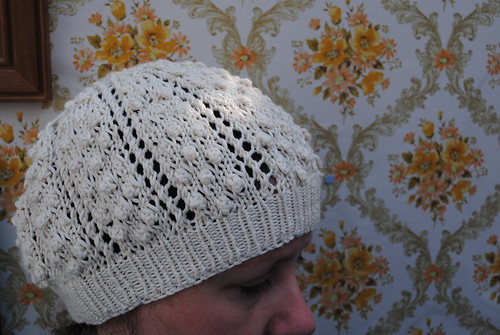
When it was done I was so pleased. I actually really love this beret. I love the yarn I worked it in. I love the fact that it really does look like a sea urchin (and who wouldn't want one of those on their heads, right? exactly). It is a truly satisfying knit.

These images were taken the Monday morning after I returned home. Images to sell the pattern is all. But whenever I look at them all I remember is the kids having their lunch, and me walking in to hearing the phone ringing and then listening to my brother telling me that 'Dad could go any time, come as soon as you can'. So whenever I see these pictures I wince. I don't see the pattern; I see the last few hours that my Dad was alive. They take me right back.

DSC_0051

Like I said, bitter-sweet memories.

But, I do so love this pattern and am wondering if I should re-shoot the images for the store? In some ways I like the connection it has to my Dad, and on the other, well, it comes with a miserable story... *shrugs*

But I've meaning to do this for a while - just as a little memory-marker for my Dad - I'm reducing the pattern price for two weeks by a 1/5th - yep. This pattern is on sale for a limited time at the Vintagalia Big Cartel store. Grab it while it lasts!

A lovely pattern with a crappy back-story...

Tuesday, 1 May 2012

Knits for (Baby) Mitts ... and Pattern

DSC_0008


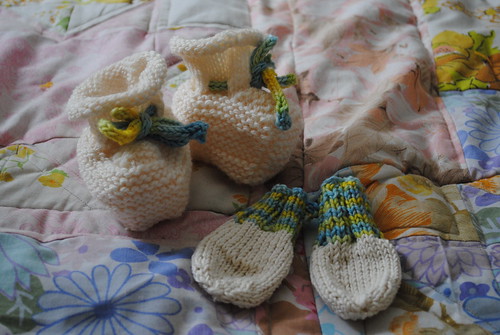
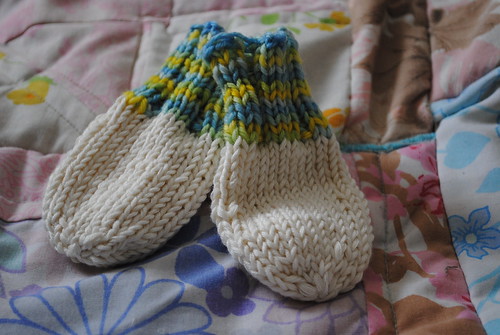
Last week I showed you some of the things I sewed for a baby shower gift. Today, here are the things I knitted up :: a pair of booties and some scratch mitts to match.

The booties were a relatively easy, quick and satisfying knit and I've used this pattern before, many, many times. They are the Stay-On Baby Booties found in Knitting for Baby by Melanie Falick.

They really do stay on, and they are so snuggly warm. I can't wait to see them being used. Can anything be cuter than baby toes? Really?

The scratch mitts were a on-the-hoof made up pattern. I do think people overlook scratch mitts in gifting. Scratch mitts, from my experience, are as essential as nappies in newborns. My two had a persistent disposition to scratching their eyeballs out, lacerating their faces and an obsession bordering on pathological compulsion with trying to rip their noses off. In short, my newborns looked like they'd been pulled out of rubble half the time. Scratch mitts were my (their?) saviour.

So why not share the love. Here is the on-the-hoof pattern for Scratch Mitts for you as well...


Scratch Mittens

Needles :: 4 x 3.75mm DPNs

Yarn :: any DK yarn

Guage ::
22st 28rows stst = 4x4 in


CO 25 st
K in rib - *K3, P2 - rep from * til piece measures 2"
K in the round til piece measures 2" then decrease:

*K3, K2tog - rep to end of round
K a round
*K1, K2tog - rep to end of round
K a round
*K1, K2tog - rep a few rounds til only a few stitches remain. Thread a needle with the yarn, sew through these final stitches and pull.

Weave in ends.
Repeat for another mitten.


And there you have it. An easy knit and an easy way to ensure noses stay firmly on their faces.


*** *** ***

Monday, 14 November 2011

Cosy Toes Slipper Pattern

DSC_0017

I'm annoyed with myself. Having to put the ezine into still pause mode has made me feel like a failure. I hate hate hate not finishing what I start, but it's a feeling I know only too well as a mother with other things on her mind.

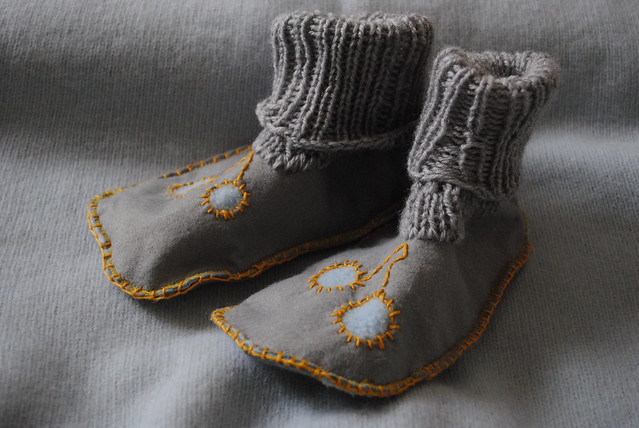
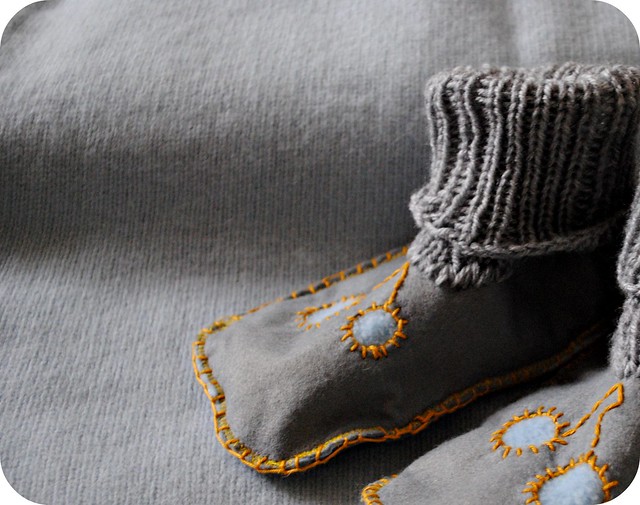
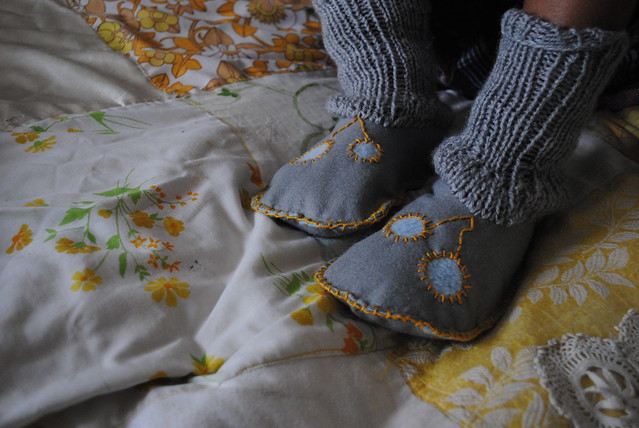
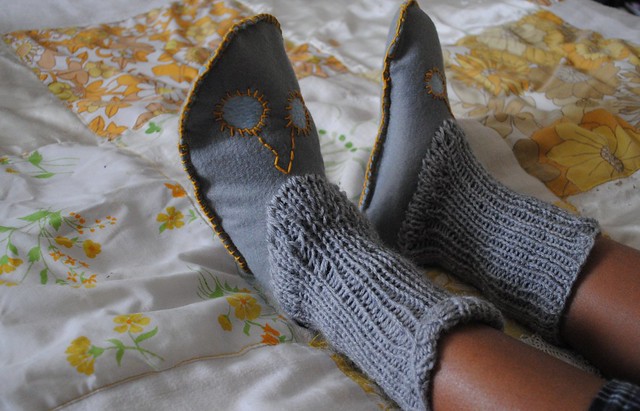
This pattern had been meant to be part of the Winter Edition - homemade slippers for any sized feet for you family. They honestly are the cosiest slippers I've ever worn, and after making a set for the midget I heard him tell his brother, 'these are the bestest slippers EVER, honestly - EVERYONE in the WORLD should have them'. I don't know if he was trying to rub it in because I haven't made the eldest a pair yet (hello, winter weather energy levels slump), but it was mighty high praise from someone who acually has detested socks or slippers on his feet since he was born...

DSC_0020

DSC_0074

Trying to salvage something of the effort I put into the winter edition I'm offering the pattern for sale over at my pattern shop. Currently on sale for very reasonable introductory sum of £1.90 (I will be raising this price soon) this pattern is one for all - you will be able to make a pair for your whole family with just one pattern.

DSC_0071

And perhaps a free pattern for the tutorial page sometime in the week.


*** *** ***

Tuesday, 16 August 2011

Knitting Season

DSC_0222

DSC_0240


After months of the weather being just too hot for knitting, this week my mind has turned again towards this gentle craft. Thoughts for winter warmers that I know will be needed all too soon play on my mind. Enjoying a quiet five minutes with the needles is something that brings me such satisfaction, and to know I'm also going some way to warm my family? Well, that makes me feel vindicated in taking a five minute break - because, you know, I'm working at the same time, right?

On the sticks right now is an autumn hat pattern I'm trying to draw up. Ripped out twice - wish me luck for this time round!

DSC_0243


And you? Have you started any crafts for the coming season yet?


*** *** ***


Tuesday, 19 July 2011

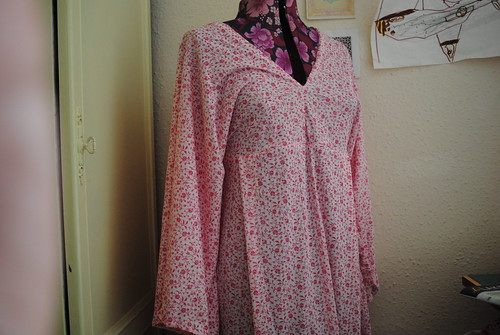
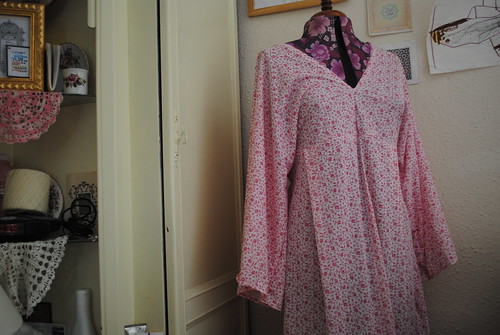
Free Summer Tunic/ Beach Blouse Pattern

So here it is - another tutorial for you all *swings open arms in a semi-circle* - gratis!
DSC_0095

DSC_0096

It is technically Summer, yes? And what do us mamas do in Summer? Why, we sit around at the beach or lakeside eating bonbons and sipping martinis of course. Duh. Except the martini bit. Obviously. And the sitting part, of course. But apart from that - well we like our summer wear don't we? Yes we do.
DSC_0100

Here, then is a simple tunic designed by me for those days when I want be all airy and floaty. It's an easy make and so I thought it would be ideal for a tutorial so all y'all can float around too. And eat bonbons.
DSC_0099

DSC_0098

The pattern I'm giving is free for personal use NOT FOR SALE and please link back to me if you share, OK? OK? Sharing is caring, right? OK. So play nice.

The pattern here will give you a tunic just above your knees or thereabouts. If you want to radically shorten this tunic to a hip length blouse or what-have-you, then that is totally easy to achieve too. You might not float though; you may waft a little, but I envisage not major floating.

OK. Let's get started.

YOU WILL NEED ::

A sewing machine, yes I know, I am forced to state the freaking obvious,
Thread to match the fabric,
Dressmaking scissors,
Pins,
Enough fabric to get four 30 inch x 30 inch square pieces, and two 30 inche x 10 inch rectangles.
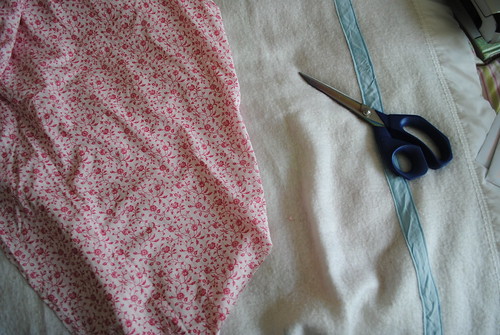
DSC_0094

DO IT ALREADY ::

This is so easy I'm almost embarrassed to call it a tutorial...

1. Make life easy for yourself by hemming all four squares.

2. Once hemmed take two of the squares and place right sides together. Along one edge sew 5 inches, leave a gap and then sew the final 5 inches. This will give you a hole - put your head in - waggle it about. Feel good? Yeah, you look good. The cloth is actually your sleeves.

3. Sew all around the neck-hole to flatten any curling hem.
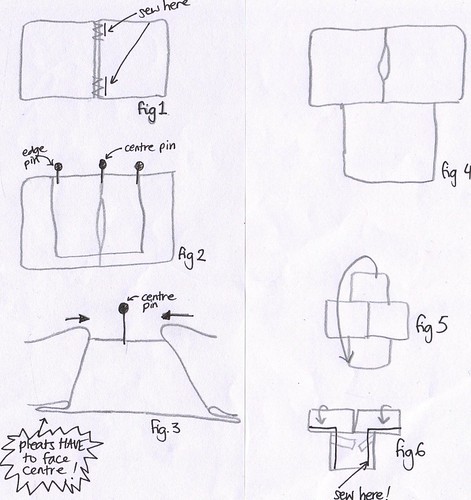
tunicfig

4. Now for the bit where you need to concentrate :: Lay down the piece you have just sewn {"A"} so you are looking at the right side. Take another square {"B"} and place the centre of one edge of the square {"B"} and pin, right sides facing, to the centre of the first piece {"A"}. From this pinned centre, measure ten inches to the right, and take the corner edge of {"B"} and pin into place. Do the same for the left side.

5. There will be floppy fabric in the middle of these pins. Finding the centre between the centre pin and the end pin, carefully FOLD the fabric into a pleat ensuring the fold points towards the centre. Pin into place. Do the same for the other side.

6. Sew square {"B"} onto piece {"A"} ensuring the pleat is sewn.

7. You should have something like this (see fig. 4)

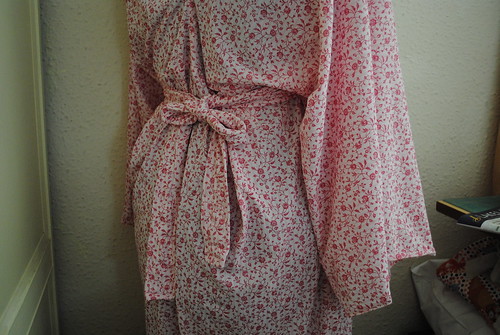
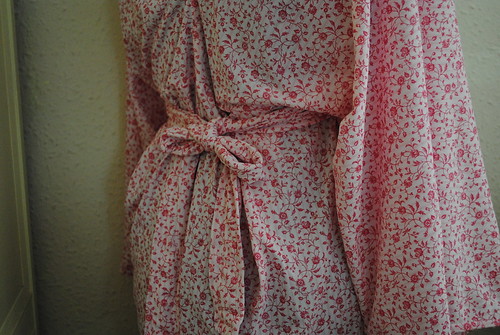
8. Repeat the process for the opposite side of piece {"A"} until you have something similar to (fig. 5)

9. Make the straps :: Take one of the 30 x 10 inch rectangles and fold until right sides are facing and sew across one width and the entire length of the piece. Turn inside out so it is the right way round. Fold over one more time down it's length and sew into place. Repeat for the other strap.

10. Returning to the tunic it is time to sew it all together. Using (fig.5) and (fig.6) as a guide, fold the tunic over so that the right sides are facing, slip a strap in between the two right facing sides (inside) and pin into place where the sleeve meets the body, and do the same for the other strap under the other sleeve. Once pinned into place, sew along the open sleeve edge, and then along the open body, and repeat for the for other side.

11. Chop off any remaing threads, turn the right way round and wear!

There! What do you think? You made that! I know! I'm psyched too!! In fact, please DO share - don't forget the Flickr group to show off all the tutorial makes, or just to chit chat and say 'hi'.
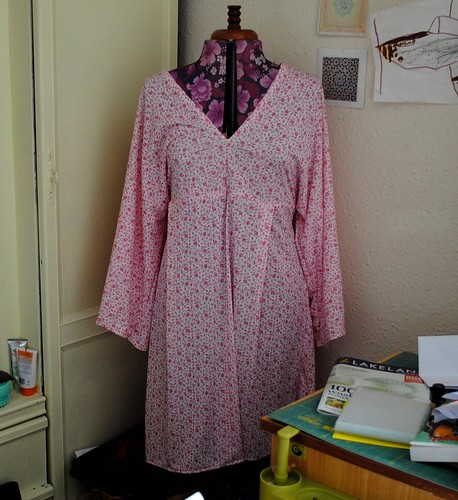

DSC_0105

If you would like a shorter version you'll have to play about with the lengths in the {"B"} pieces, but the great thing about longer tunics? Well, they look great over jeans, and at the beach over swimwear. You know, as you're eating your bonbons...


ENJOY!


*** *** ***

Tuesday, 10 May 2011

Another One :: for the cooler spring days

DSC_0004

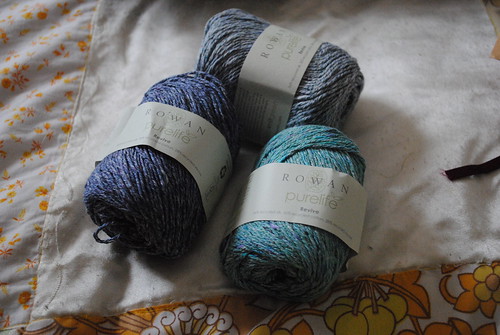
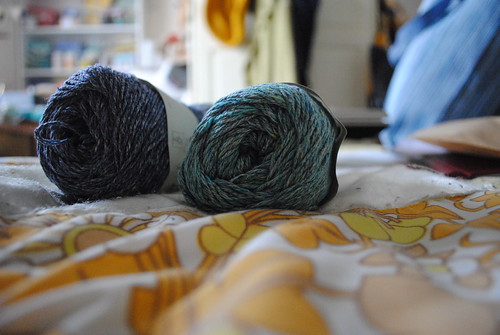
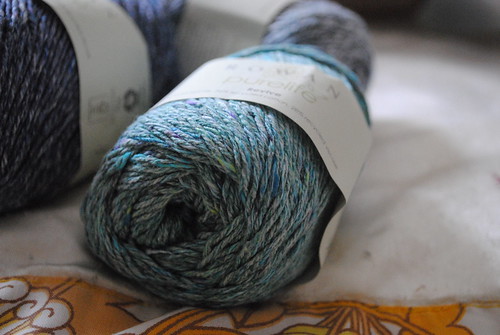
A while back I was gifted some excellent yarn in some mouth-watering colourways by my sister. This is why I keep her sweet, she comes in very useful.

DSC_0100

All three balls were Rowan's Purelife Revive, and I immediately went for the colour in 'grit' which is a misnomer because it is like no grit on earth - the colour is a true aqua - like an Impressionist's interpretation of water on a tropical island. Just a beautiful colour.

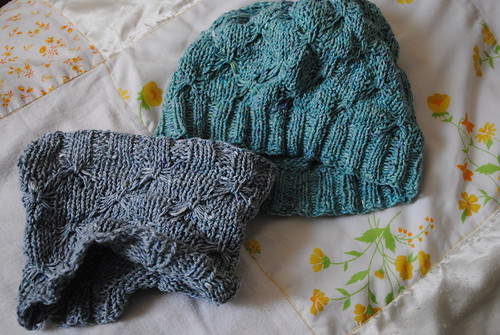
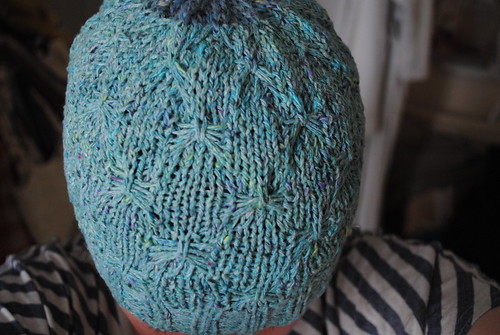
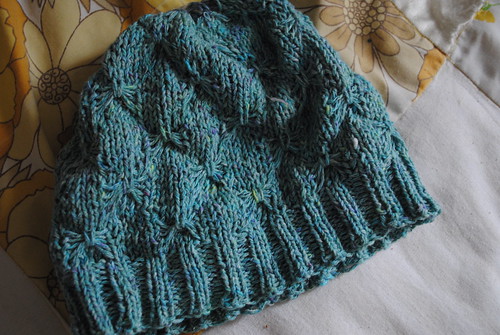
I dove straight in (no pun intended) and made a Butterfly Hat, which is simple yet effective in the way it conjures up illusion of complexity.

DSC_0102

DSC_0104

DSC_0006

DSC_0004

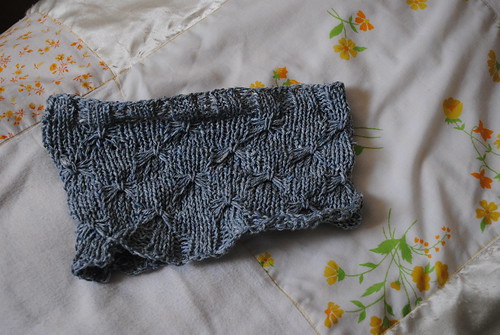
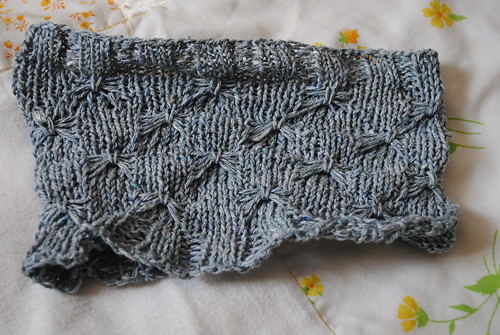
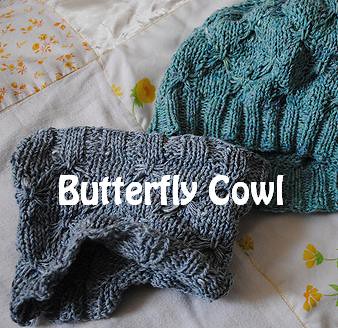
But then I was left with a quandry as to what to do with the other yummy yarn. So I continued the butterfly theme by knitting for myself a cowl, for the cooler spring days on the allotment, with the same butterfly stitches.

And once again, here is the pattern for you all to enjoy too! Couple it with the Butterfly Hat and have a little co-ordination in your woollens!

DSC_0003

DSC_0001


bc


As usual, the pattern will appear in the Tutorial pages and Ravelry too. Enjoy!


*** *** ***
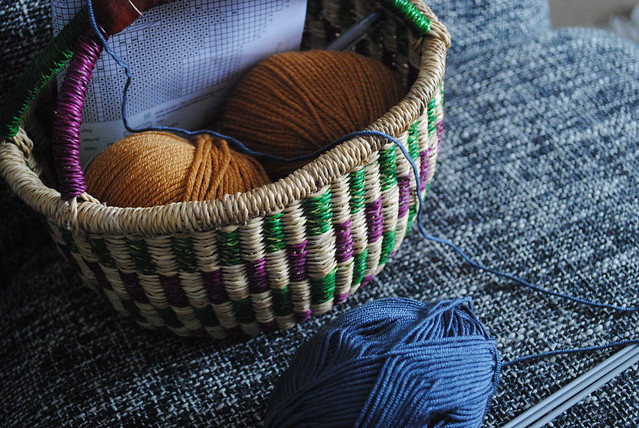
Tuesday, 12 April 2011

The Real Sea Urchin Beret Knitting Pattern

DSC_0044


DSC_0052

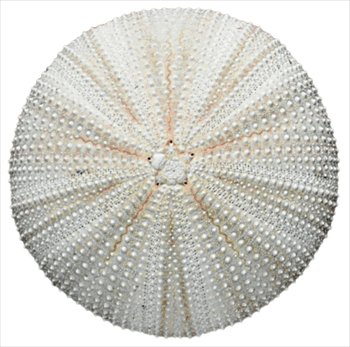
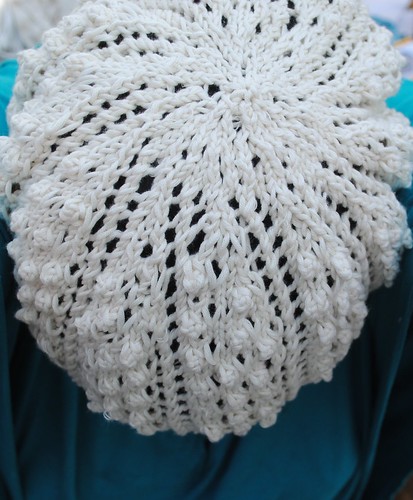
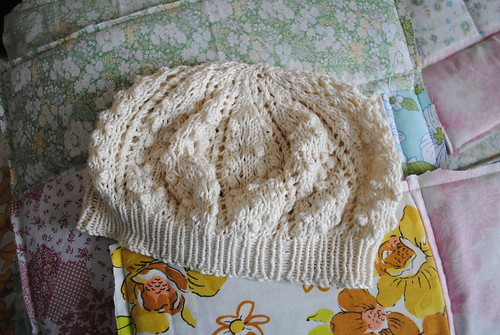
Continuing the seaside theme today is a pattern I've been working on for a couple of weeks now - a Sea Urchin Beret.

I don't know what the attraction is for these weird and wonderful creatures, but they do seem to creep up in craftland quite a lot. For me, I actually have a soft spot for the symmetry and other-wordliness of these amazing creatures. Some of the most amazing patterns and forms can be found nowhere outside a person's imagination except in the sea.


DSC_0064

DSC_0057

Inspired then by these intriguing of all pattern-makers, and chivvied along by my son's interest in everything animal, pushed to the edge with this jaw-dropping book, Art Forms in Nature, and my inexhaustable need to knit I developed this pattern so that we land critters can capture and enjoy some of these wonderful designs too.

DSC_0032

DSC_0071


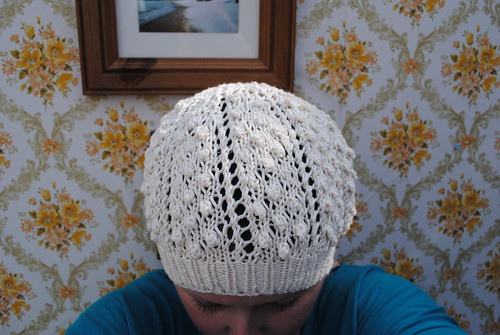
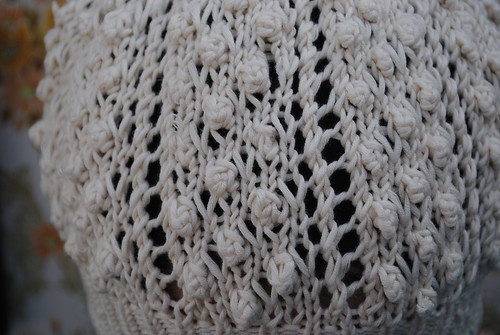
I love this pattern, even if I do say so myself - the bamboo yarn hangs nicely, giving a soft sheen, and the bobbles and lace effect give an interesting and unique look to the whole beret.

The pattern can be found for sale over on etsy, or at my bigcartel store (The bigcartel store will be cheaper reflecting on the lack of insertion fee), or keep reading for another knitting pattern - free!


*** *** ***

A Farmer's Spring Sweater ::

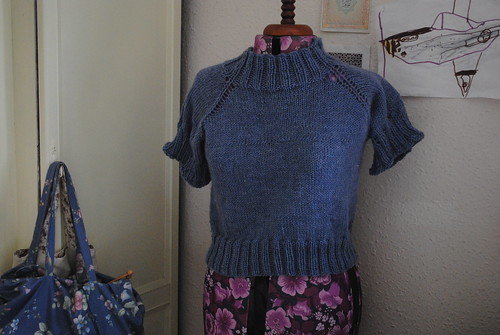
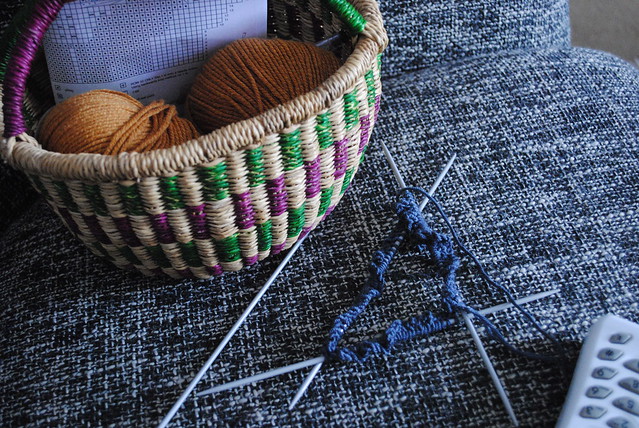
Before this amazing (and much appreciated masha'allah) heatwave we're having in our neck of the woods descended, I knit myself a simple (keyword) sweater for the spring months - months in which I spend a vast amount of time preparing our allotment for the growing season.

The sweater had to have two basic requirements :: it had to have short sleeves to save me rolling any up, and it had to be simple and warm.

DSC_0002

I came up with this, and it does what it says on the tin :: simple, straightforward, easy to adapt, and warm.

DSC_0003

In many ways this is the perfect Farmer's Sweater - keeping the allotmenteer cosy whilst sleeves are well and truly rolled up ready for work. And the best part about it is this pattern is FREE!

The Pattern can be found HERE, and I will be also putting a link up on the Tutorials page. Feel free to link and share, with usual restrictions of full credit to moi, and no selling (be nice!).


*** *** ***
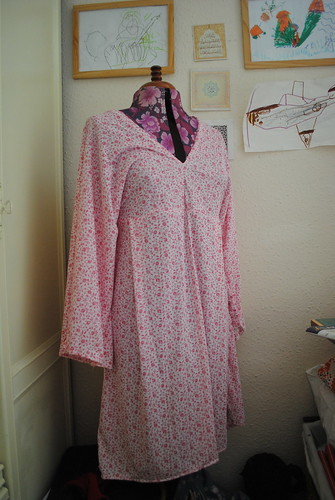

So there you have it. Two new patterns for you today. Go and enjoy! I'll be putting both sets of details on Ravelry soon insha'allah.

xxx


*** *** ***